Native Network Monitoring In Swift
We'll take a look at a native solution for monitoring network connectivity on iOS with Swift 5 and how to use the Network Link Conditioner.
Most of the implementations you'll find for monitoring your iOS device's network connectivity rely on using a 3rd-party dependency like Reachability, Alamofire’s NetworkReachabilityManager, or advise you to create a utility that periodically attempts to make an HTTP request as a way of determining network connectivity status.
Instead, I would like to present an alternative approach that leverages a lesser-known native framework introduced in iOS 12.
For this implementation, all we'll need is Apple's Network framework - it's the same framework that powers URLSession. While you would typically use this framework when you need direct access to protocols like TLS, TCP, and UDP for your custom application protocols, we won’t be doing anything that fancy here.
Initial Implementation
Let's start by creating the skeleton of our NetworkMonitor utility:
import Network

final class NetworkMonitor {
    static let shared = NetworkMonitor()

    private let monitor: NWPathMonitor

    private init() {
        monitor = NWPathMonitor()
    }
}
The NWPathMonitor is an observer that we can use to monitor and react to network changes.
Next, we'll need to create some properties to store the current state of the network connection:
final class NetworkMonitor {
    static let shared = NetworkMonitor()

    private let monitor: NWPathMonitor

	private(set) var isConnected = false

    /// Checks if the path uses an NWInterface that is considered to
    /// be expensive
    ///
    /// Cellular interfaces are considered expensive. WiFi hotspots
    /// from an iOS device are considered expensive. Other
    /// interfaces may appear as expensive in the future.
	private(set) var isExpensive = false

    /// Interface types represent the underlying media for
    /// a network link
    ///
    /// This can either be `other`, `wifi`, `cellular`,
    /// `wiredEthernet`, or `loopback`
    private(set) var currentConnectionType: NWInterface.InterfaceType?

    private init() {
        monitor = NWPathMonitor()
    }
}
We only need these properties to be read-only, so we've opted for private(set) here.We obviously don't want this long-running task to happen on our application's Main Thread, so let's create a new DispatchQueue to manage this work:
private let queue = DispatchQueue(label: "NetworkConnectivityMonitor")
The Network framework defines an enum called NWInterface.InterfaceType which specifies all of the different media types our device can support (WiFi, cellular, wired ethernet, etc.).
Since this enum is declared in ObjC, we don't have access to the allCases property like we do with enums declared in Swift. So, I've added conformance to the CaseIterable protocol and implemented allCases here. The rest of our implementation will be much simpler and much more readable as a result of this additional step.
extension NWInterface.InterfaceType: CaseIterable {
    public static var allCases: [NWInterface.InterfaceType] = [
        .other,
        .wifi,
        .cellular,
        .loopback,
        .wiredEthernet
    ]
}
The final step in our implementation is to create the functions responsible for starting and stopping the monitoring process:
func startMonitoring() {
    monitor.pathUpdateHandler = { [weak self] path in
        self?.isConnected = path.status != .unsatisfied
        self?.isExpensive = path.isExpensive

        // Identifies the current connection type from the
        // list of potential network link types
        self?.currentConnectionType = NWInterface.InterfaceType.allCases.filter { path.usesInterfaceType($0) }.first
    }
    monitor.start(queue: queue)
}

func stopMonitoring() {
    monitor.cancel()
}NetworkMonitor In Action
Monitoring can be started from anywhere in the code by simply calling NetworkMonitor.shared.startMonitoring(), though in most cases you'll want to initiate this process in the AppDelegate. Then, we can use NetworkMonitor.shared.isConnected to check the status of our network connection in real-time.
Here is our implementation so far:
import Network

extension NWInterface.InterfaceType: CaseIterable {
    public static var allCases: [NWInterface.InterfaceType] = [
        .other,
        .wifi,
        .cellular,
        .loopback,
        .wiredEthernet
    ]
}

final class NetworkMonitor {
    static let shared = NetworkMonitor()

    private let queue = DispatchQueue(label: "NetworkConnectivityMonitor")
    private let monitor: NWPathMonitor

	private(set) var isConnected = false
	private(set) var isExpensive = false
	private(set) var currentConnectionType: NWInterface.InterfaceType?

    private init() {
        monitor = NWPathMonitor()
    }

    func startMonitoring() {
        monitor.pathUpdateHandler = { [weak self] path in
            self?.isConnected = path.status != .unsatisfied
            self?.isExpensive = path.isExpensive
            self?.currentConnectionType = NWInterface.InterfaceType.allCases.filter { path.usesInterfaceType($0) }.first
        }
        monitor.start(queue: queue)
    }

    func stopMonitoring() {
        monitor.cancel()
    }
}
Adding NotificatinCenter Support
The behavior of modern iOS apps changes dramatically when the device's network connectivity fails - some screens might show a notice that the device lost connection, the application's caching behavior changes, or certain user-flows disappear completely.
In order to support this type of behavior, we'll need to extend our implementation to send out app-wide notifications when our connectivity status changes.
import Foundation
import Network

extension Notification.Name {
    static let connectivityStatus = Notification.Name(rawValue: "connectivityStatusChanged")
}

extension NWInterface.InterfaceType: CaseIterable {
    public static var allCases: [NWInterface.InterfaceType] = [
        .other,
        .wifi,
        .cellular,
        .loopback,
        .wiredEthernet
    ]
}

final class NetworkMonitor {
    static let shared = NetworkMonitor()

    private let queue = DispatchQueue(label: "NetworkConnectivityMonitor")
    private let monitor: NWPathMonitor

    private(set) var isConnected = false
    private(set) var isExpensive = false
    private(set) var currentConnectionType: NWInterface.InterfaceType?

    private init() {
        monitor = NWPathMonitor()
    }

    func startMonitoring() {
        monitor.pathUpdateHandler = { [weak self] path in
            self?.isConnected = path.status != .unsatisfied
            self?.isExpensive = path.isExpensive
            self?.currentConnectionType = NWInterface.InterfaceType.allCases.filter { path.usesInterfaceType($0) }.first

            NotificationCenter.default.post(name: .connectivityStatus, object: nil)
        }
        monitor.start(queue: queue)
    }

    func stopMonitoring() {
        monitor.cancel()
    }
}

// ViewController.swift
class ViewController: UIViewController {

    override func viewDidLoad() {
        super.viewDidLoad()
        NotificationCenter.default.addObserver(self, selector: #selector(showOfflineDeviceUI(notification:)), name: NSNotification.Name.connectivityStatus, object: nil)
    }

    @objc func showOfflineDeviceUI(notification: Notification) {
        if NetworkMonitor.shared.isConnected {
            print("Connected")
        } else {
            print("Not connected")
        }
    }
}
You can find the source code for this project here.
Network Link Conditioner
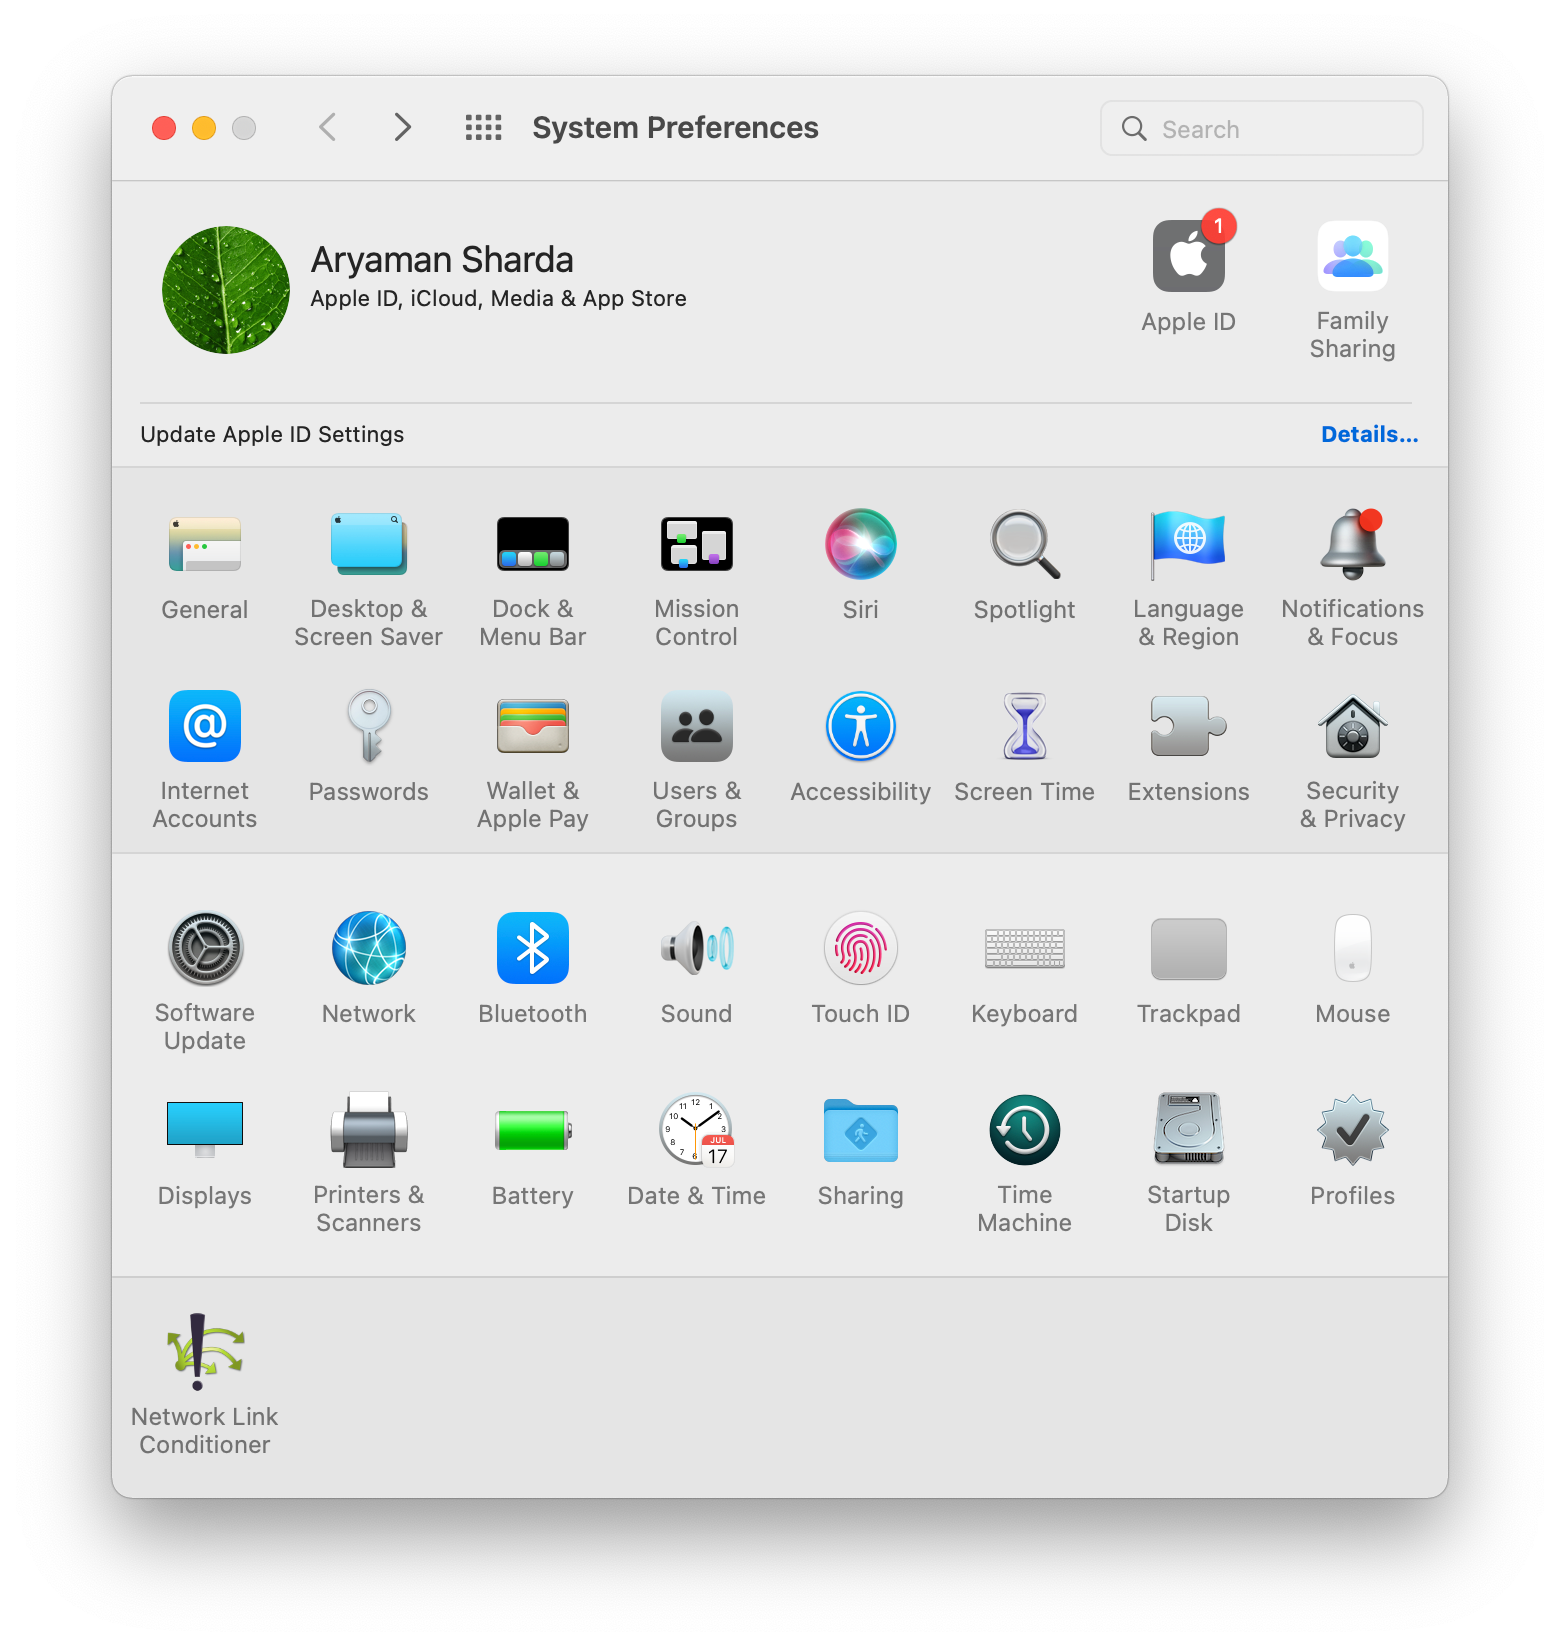
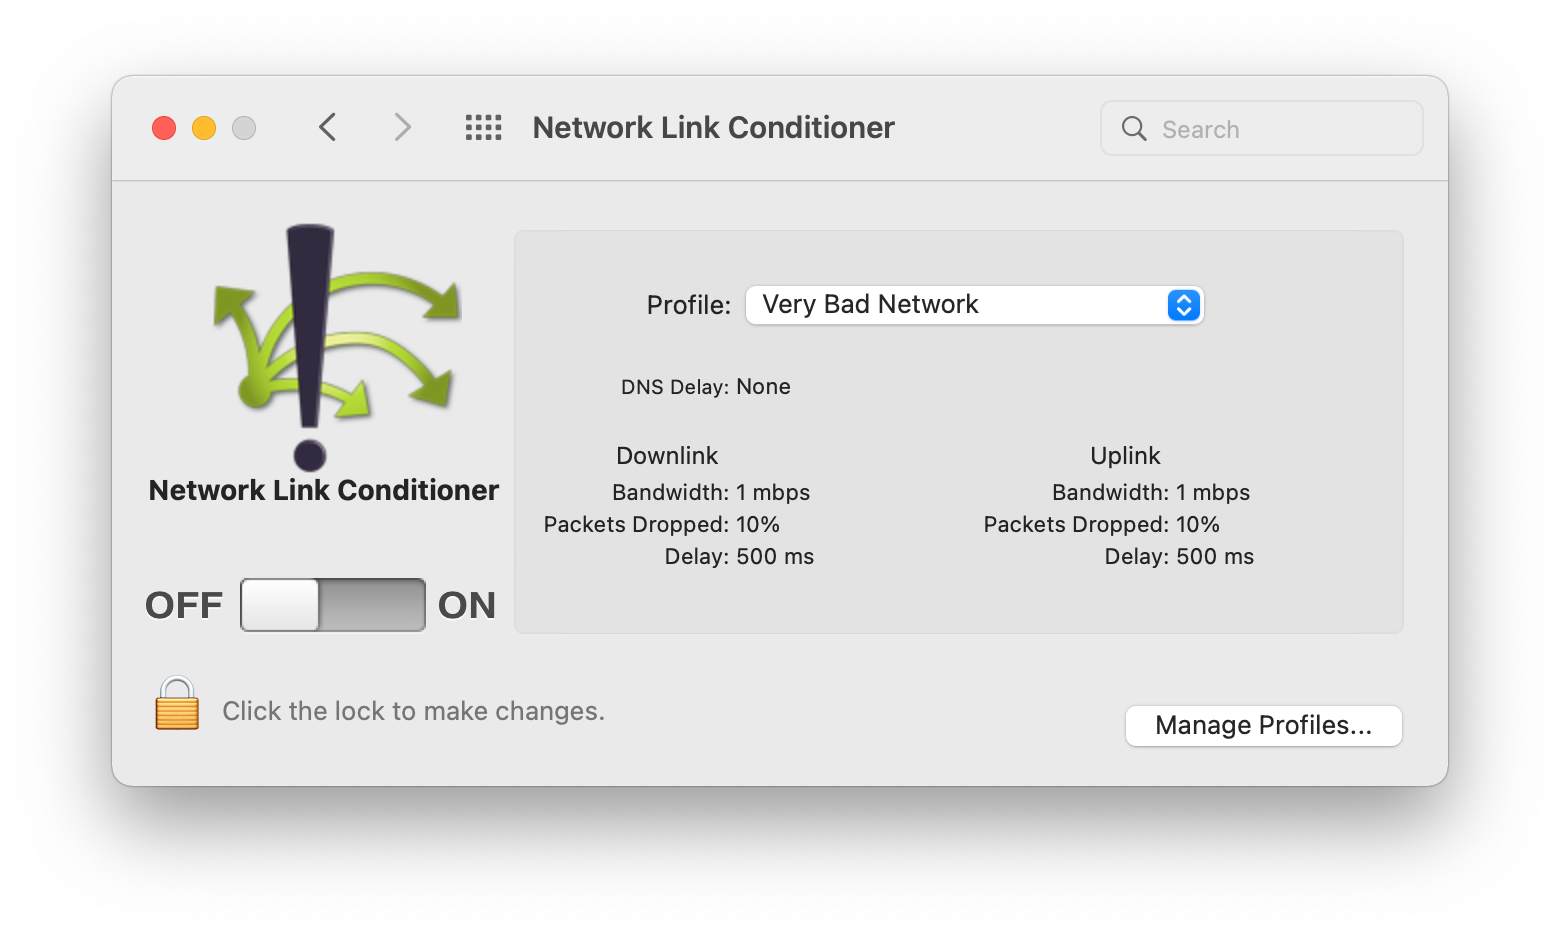
Seeing as we're already talking about networking and debugging connectivity issues, this seems like an appropriate time to mention the Network Link Conditioner.
Using this tool, you can simulate different network conditions on your computer and, consequently, on the iOS Simulator. With this tool, not only can we monitor for the extremes of being completely online or offline, but we can test our application's behavior against a variety of network conditions as well.
You can download it from the Apple Developer site or by clicking here.


If you're interested in more articles about iOS Development & Swift, check out my YouTube channel or follow me on Twitter.
And, if you're an indie iOS developer, make sure to check out my newsletter! Each issue features a new indie developer, so feel free to submit your iOS apps.
