Blend Modes in SwiftUI
Blend modes play a crucial role in digital design, enabling designers to easily create complex visual effects like overlays and textures. They're essential for tasks like photo manipulation, creating lighting effects, and adding depth to images.
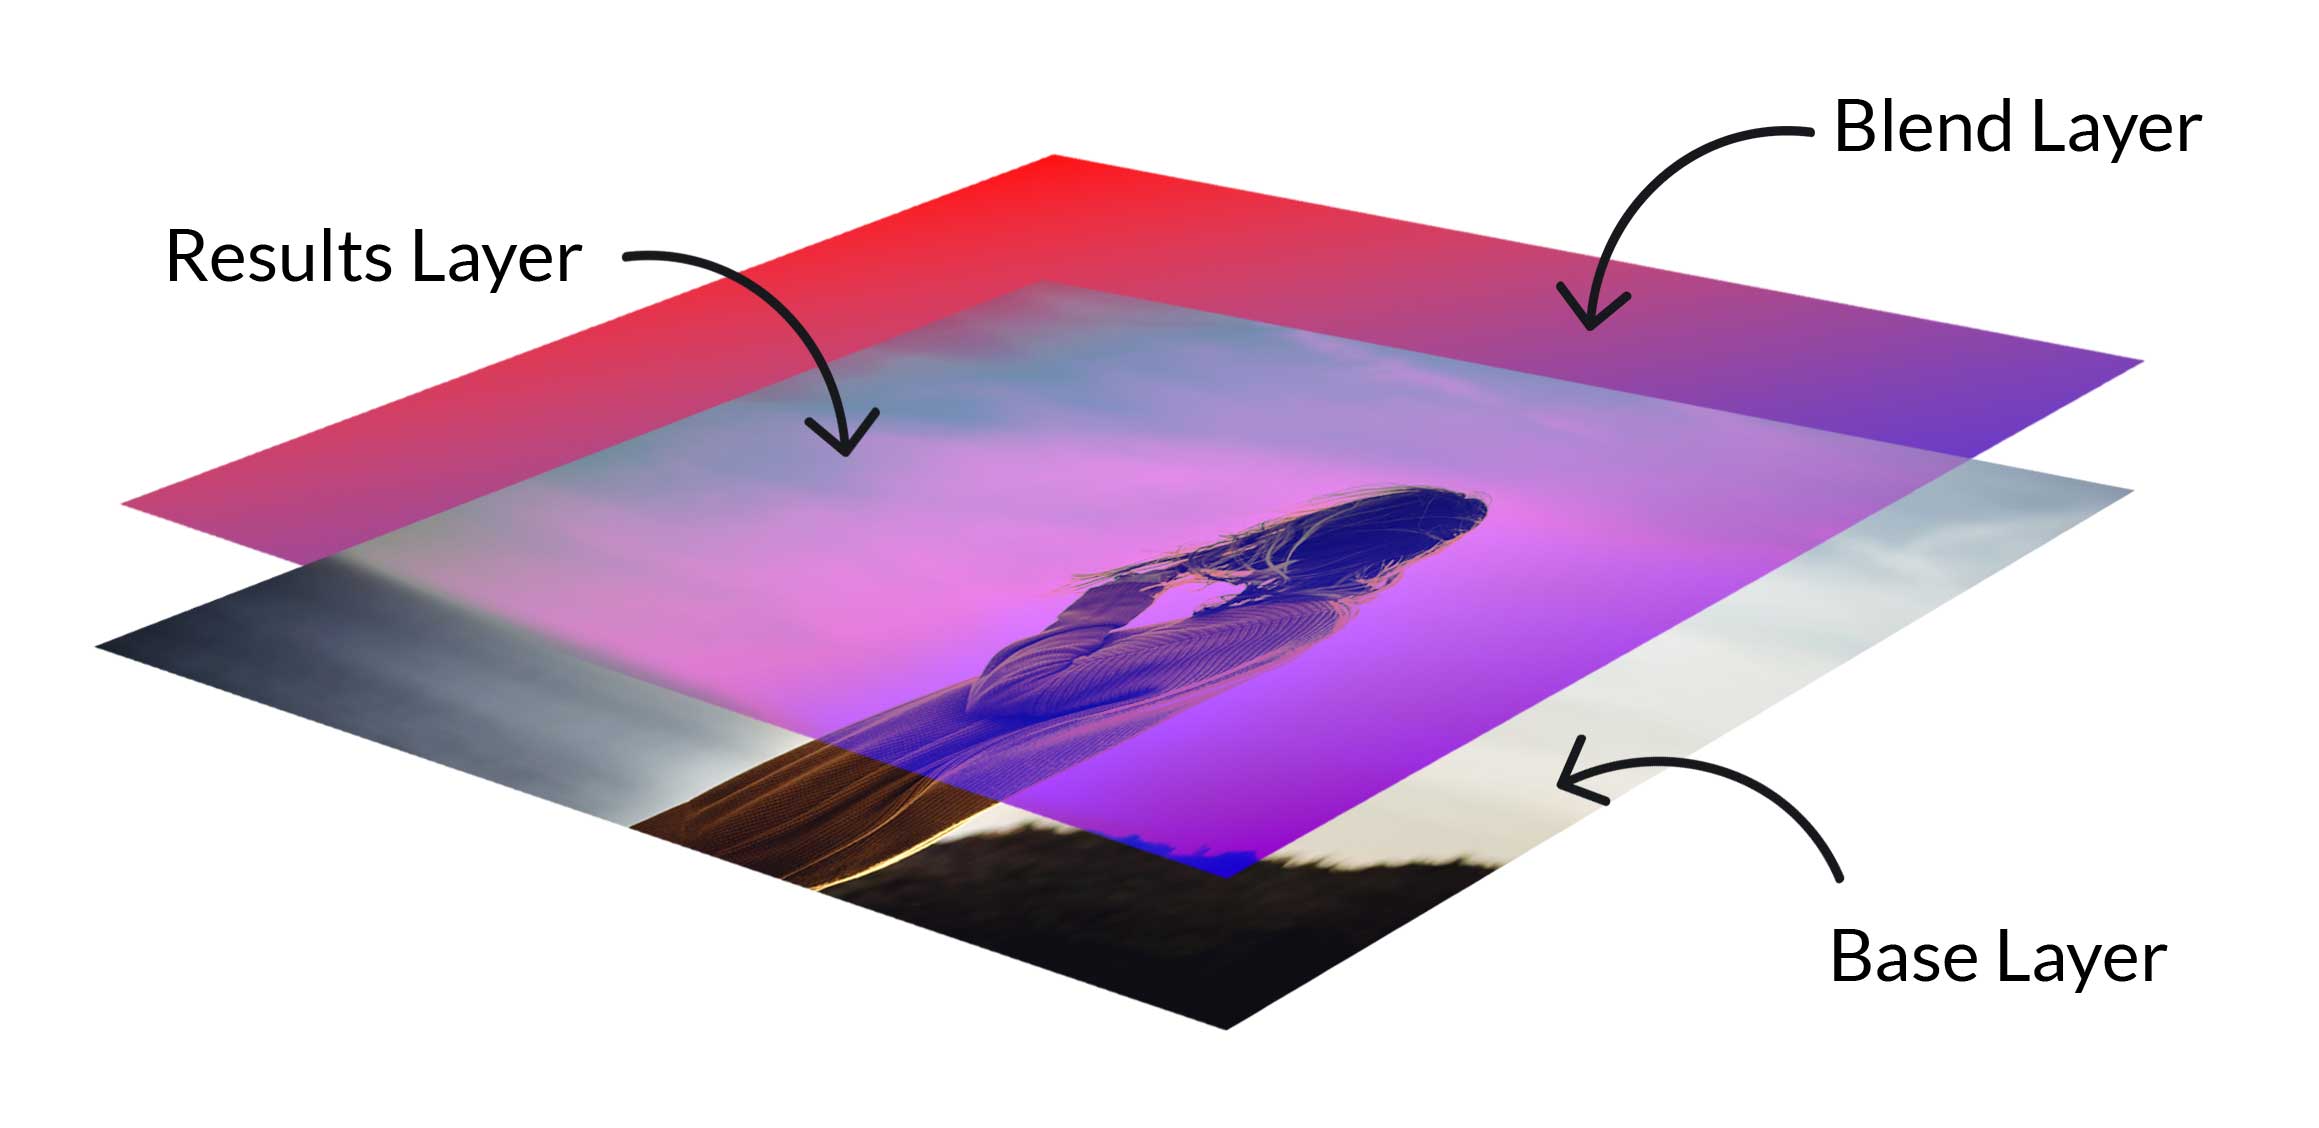
Blend modes, as the name suggests, blends the colors of multiple layers of pixels using mathematical formulas to determine each pixel's influence on the final image. You can combine any number of layers, but at a minimum, you'll need 2 layers - a base layer and a blend layer to create a blend mode effect.
In this article, we'll dive deeper into blend modes, why they're important, how they're implemented, and how to use them in SwiftUI.
Blend Modes in SwiftUI
SwiftUI supports the following blend modes:
public enum BlendMode : Sendable {
    case normal
    case multiply
    case screen
    case overlay
    case darken
    case lighten
    case colorDodge
    case colorBurn
    case softLight
    case hardLight
    case difference
    case exclusion
    case hue
    case saturation
    case color
    case luminosity
    case sourceAtop
    case destinationOver
    case destinationOut
    case plusDarker
    case plusLighter
}
Blend modes can be applied to a variety of components, not just images. In SwiftUI, blend modes can be used with any view, including text, shapes, and even entire containers that hold multiple elements.
However, for simplicity sake, the examples in this article will just use an image.
Here's the SwiftUI setup I'll use to explore different blend modes:
struct ContentView: View {
var body: some View {
ZStack(alignment: .trailing) {
Image("porsche")
.resizable()
.scaledToFill()
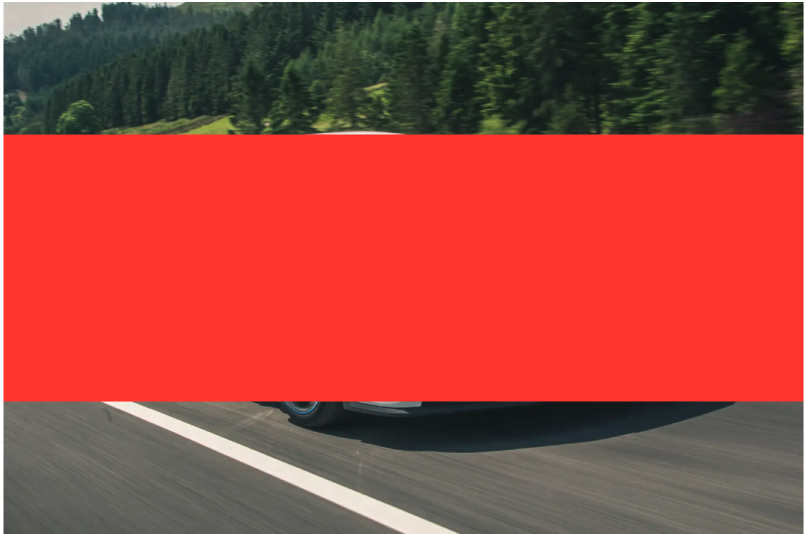
Rectangle()
.fill(Color.red)
.frame(height: 178)
}
.frame(width: 533, height: 355)
}
}
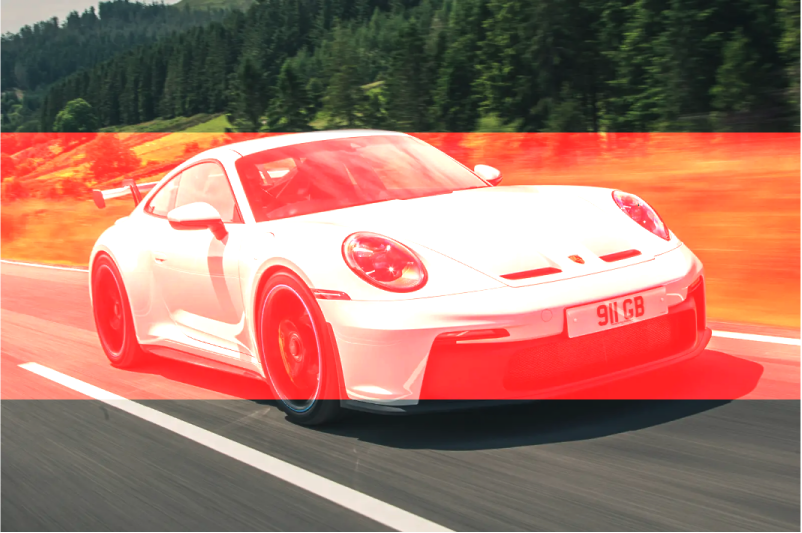
This results in the following starting image:
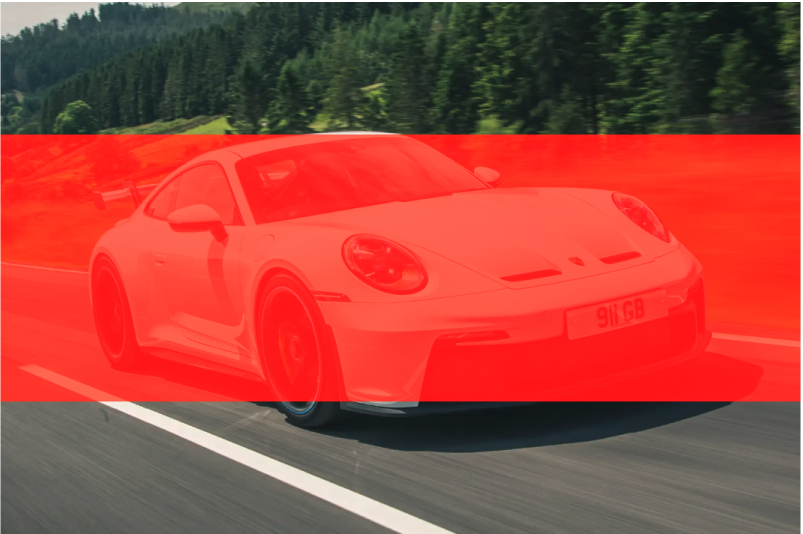
Normal
The normal blend mode displays the top layer as is, without blending it with the layer beneath. This is the default mode, ensuring each layer appears as intended.

So, by adding .blendMode(.normal) to the Rectangle, we get an identical image to our starting one:
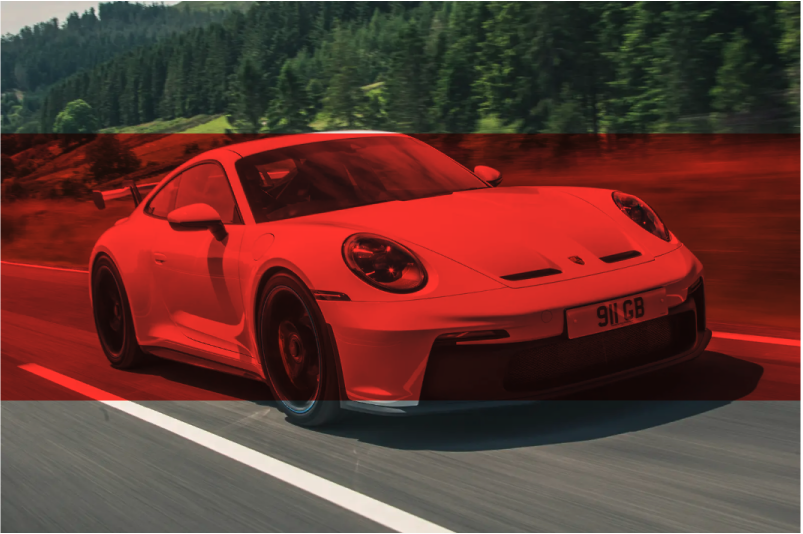
Multiply
The multiply blend mode darkens the image by multiplying the color values [RGB] of the top and bottom layers. It's great for adding shadows and creating depth.

Since color values range from 0 to 255, multiplying both values and then dividing by 255 makes it easier to normalize the result within this range.
Screen
The screen blend mode lightens the image by combining the color values of the layers. It's useful for highlights and creating a glowing / dreamy effect.

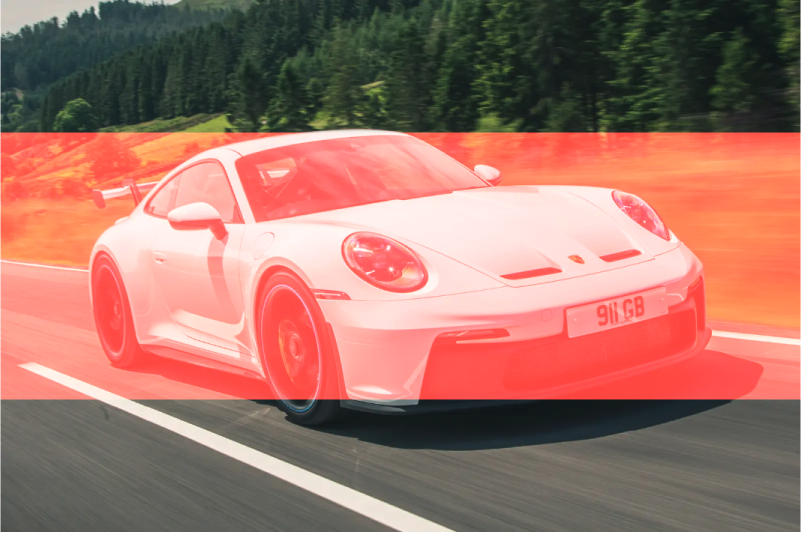
Overlay
The overlay blend mode enhances textures by increasing contrast, darkening dark areas, and lightening light areas. It combines the multiply and screen modes, based on the pixel values of the bottom layer.

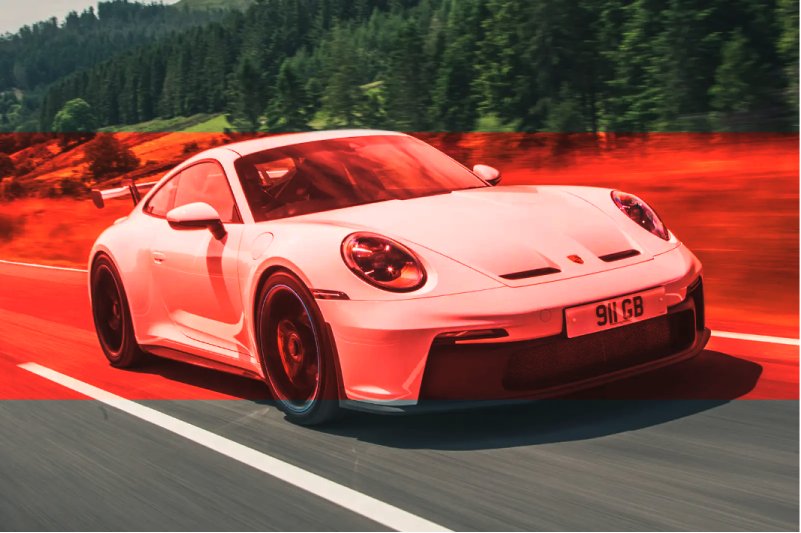
Hard Light
Hard light applies the same principles as overlay, but swaps the roles of the layers.
It increases contrast by considering the brightness of the top layer, making it ideal for dramatic lighting effects.
Both blend modes enhance contrast, but overlay focuses on the brightness of the bottom layer, while hard light focuses on the brightness of the top layer. Overlay is typically used to enhance textures and add depth, whereas hard light is favored for creating intense lighting effects and dramatic highlights or shadows

Color Dodge
Color dodge brightens the image by dividing the bottom color by the inverse of the top color. It creates vivid highlights, often used to add depth and realism.

Experimenting with blend modes in SwiftUI can significantly enhance your design's visual appeal. For more on the formulas behind these blend modes, check out this Wikipedia article:
 Contributors to Wikimedia projects
If you're interested in more articles about iOS Development & Swift, check out my YouTube channel or follow me on Twitter.
And, if you're an indie iOS developer, make sure to check out my newsletter! Each issue features a new indie developer, so feel free to submit your iOS apps.
 Indie Watch